Setup Guide
Home Vocal Recording Packages
|
Included Parts:
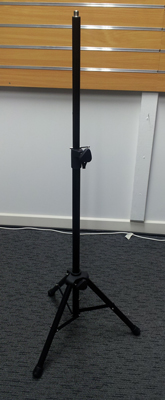
1. Heavy Duty Mic Stand
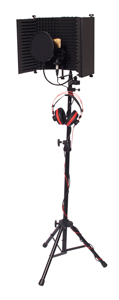
2. Vocal Booth
3. Vocal booth shockmount arm
4. Shockmount
5. Microphone
6. Pop Filter
7. Headphone Hanger
8. Headphones
9. XLR Microphone Cable
10. SWAMP X-USB Audio Interface (optional)
11. USB Cable (included with Interface)
|
 |
1. Assemble the stand by folding out the three legs and raising the height of the adjustable shaft
- Loosen the knob on the tripod section to allow the legs to be folded out
- Raise the height of the vertical pole until adequate for use, and push the metal bar an available hole
- Tighten both the knob on the tripod base, and the top knob to secure the vertical pole in position
|
 |
2. Attach the Vocal Booth to the stand using either of the below methods
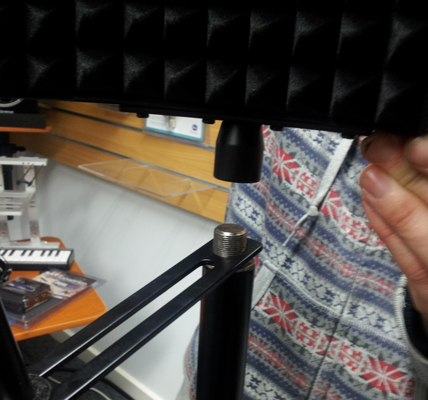
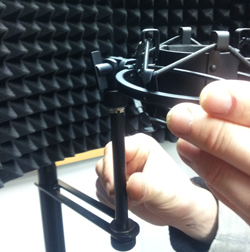
a) Mic stand top thread mounting:
- Remove the thread piece and 'shockmount arm' piece
|
 |
|
- Place the 'shockmount arm' piece back onto the stand, followed by the vocal booth itself, and twist the booth around to screw it onto the stand
|
 |
|
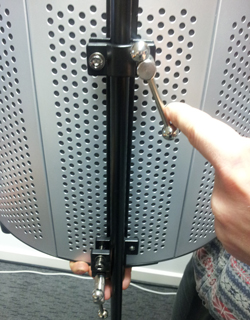
b) Mic stand tube mounting:
- Undo the clamps on the back of vocal booth
- Hold the vocal booth against the tube of the mic stand and tighten the clamp
- Note: the iSK ARF Stand is too wide in diameter to be mounted by this method. Best suited for thinner microphone stands.
|
 |
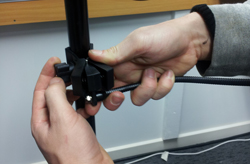
3. Attach the shockmount onto the 'shockmount arm' piece
|
 |
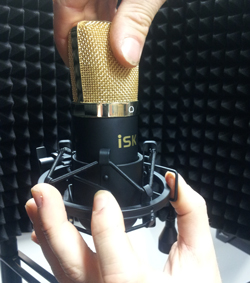
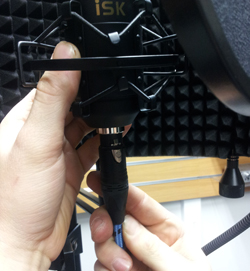
4. Place the condenser microphone into the shockmount
- Squeeze and close together the two small handles on the shockmount to expand the opening for the microphone
|
 |
5. Attach the pop filter to the stand
|
 |
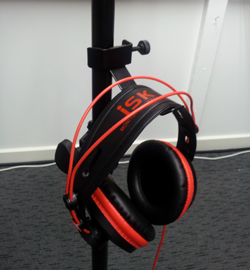
6. Attach the headphone hanger and drop on your headphones
|
 |
Optional - Audio Interface (SWAMP X-USB pictured as example item)
|
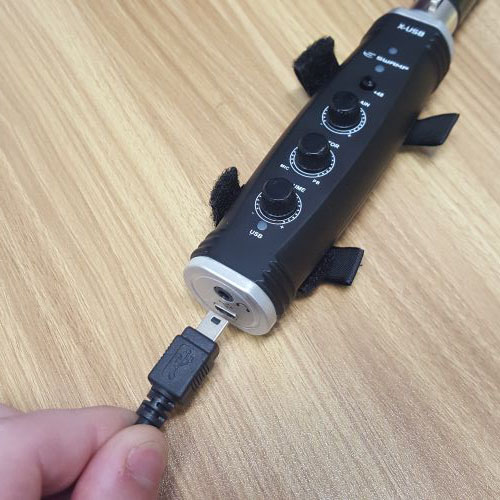
1. Connect the included USB cable to your computer and X-USB for power
|
 |
2. Attach the XLR cable from the microphone into the Audio Interface
|
 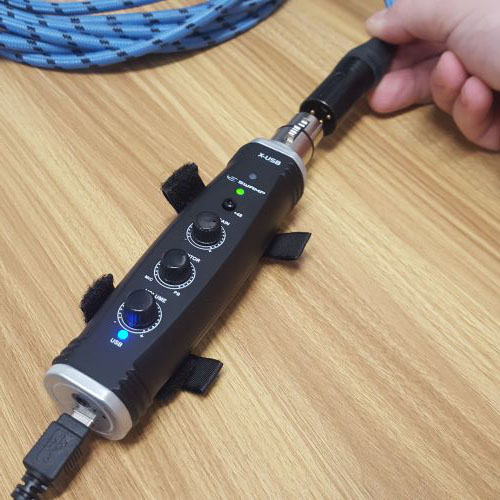 |
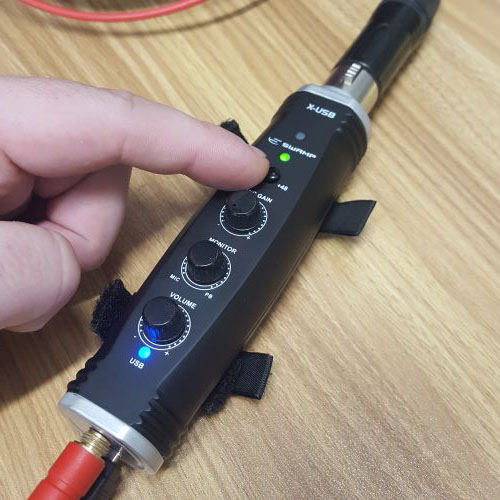
3. Turn '+48V' Phantom Power on
|
 |
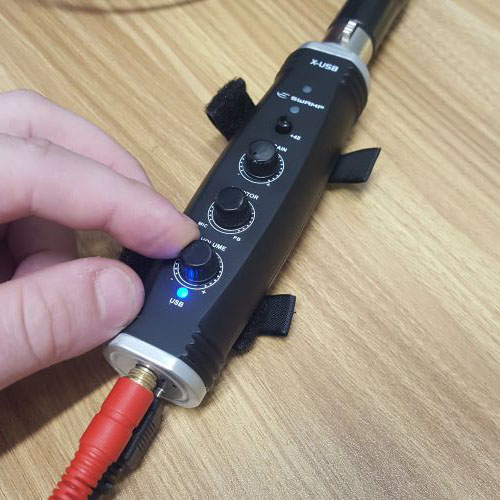
4. Plug in your headphones and adjust the 'volume' to a reasonable level. 12 o'clock is a good starting point
|
 |
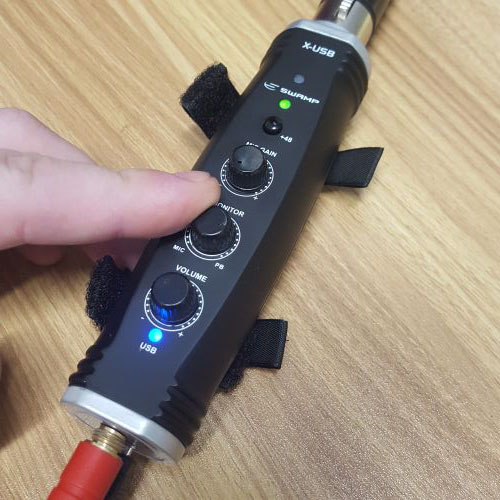
5. Adjust the 'Gain' of the mic channel and 'Volume' of the headphones until you are getting a decent level of signal
|
.jpg) |
6. Adjust the 'Monitor' mix between PB (playback from computer) and MIC (recorded sound from the microphone)
|
 |
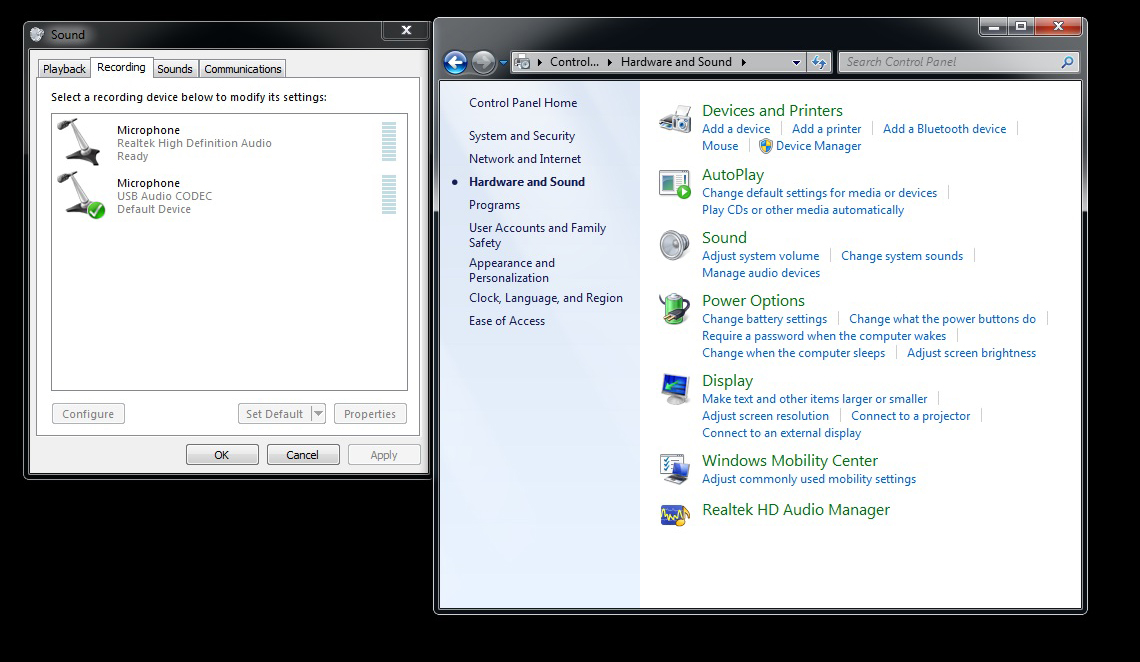
7. Select the Audio Interface as your recording and playback device:
- Windows 10 (2 options):
- a) In the "Control Panel", select "Sound"
- Select the SWAMP X-USB as the "Microphone" in "Recording"
- Select the SWAMP X-USB as the "Speakers" in "Playback"
- b) In the "Settings", select "Sound"
- Select the SWAMP X-USB as the "Input Device"
- Select the SWAMP X-USB as the "Output Device"
- Mac OS: In "System Preferences", select "Sound"
- Select the SWAMP X-USB as the "Input"
- Select the SWAMP X-USB as the "Output"
|
.png) |
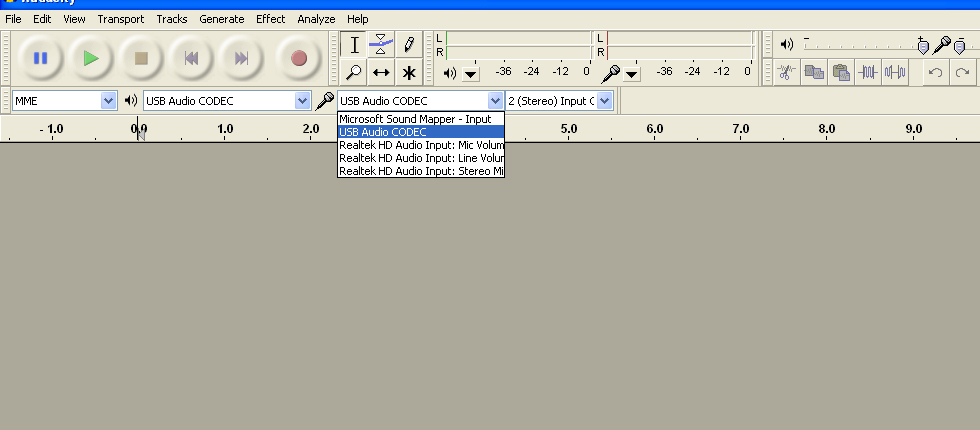
8. Select the Audio Interface as your recording device in the "DAW / Recording Software".
Pictured: Audacity
|
 |
9. Start your recording!
Please don't hesitate to contact us if you have any problems or questions regarding the setup of our home recording packages, we are here to help.

|